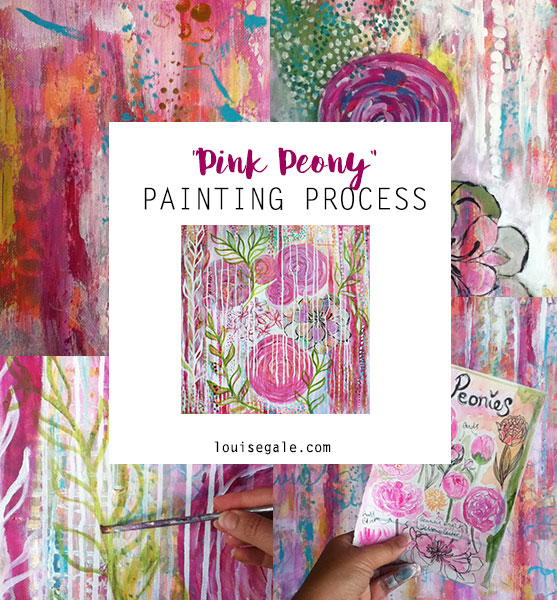
I have been having so much fun creating paintings for my #100daysofpainting challenge, that I’ve not yet shared some of the fun and challenging processes so far!
Today, I wanted to share my painting process for this lively pink peony painting I finally finished this week. This painting challenged me in so many ways! And what I am learning through this process is that leaving a painting for a few days is the best method, if you feel a little stuck.
So I hope this post inspires you to power through any paintings that are challenging you and pick up your paintbrush to revisit any in progress paintings!
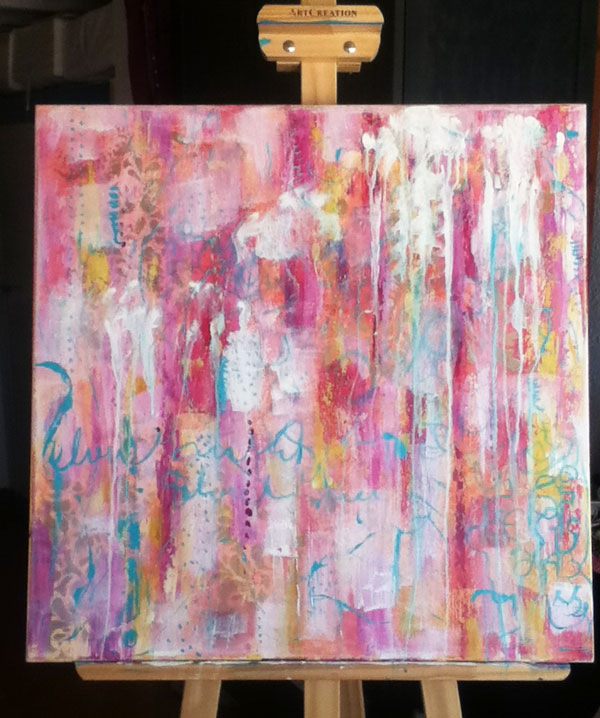
STEP ONE – Cover the canvas with paint and have fun!
A blank canvas can be really overwhelming sometimes! So the first step is always to have fun and simply cover all the white on my canvas with color. I play with a variety of techniques from using foam brushes and paint rollers to adding paint with my fingers to spray paint and writing with a kebab stick. There is no limit to adding color to the first layer and the most important thing is to have fun.
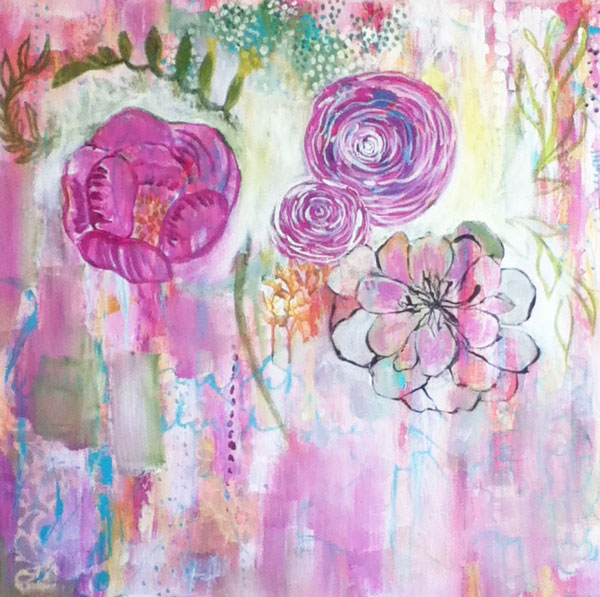
STEP TWO – Add marks or images
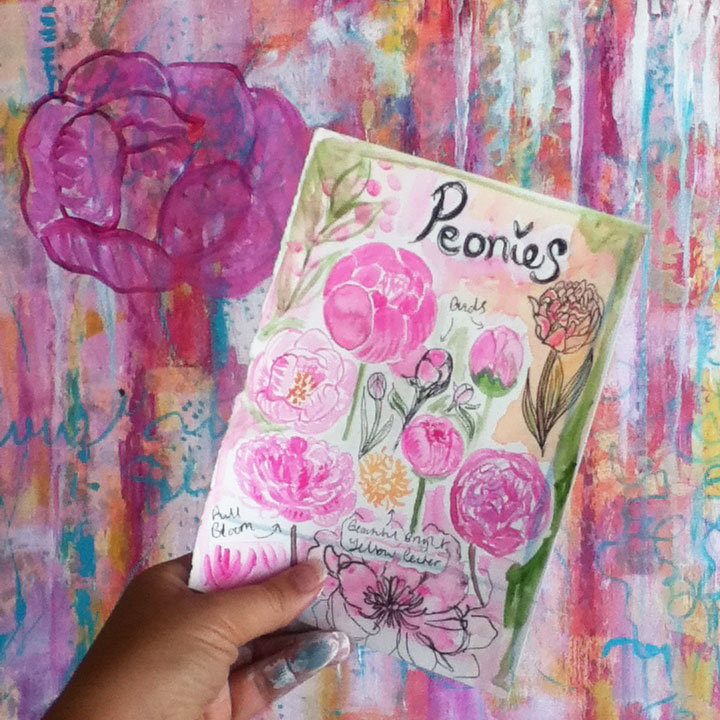
I usually create intuitively which means to keep adding layers and then seeing what images emerge, but for this piece, I decided to focus on blooms right from the outset. So grabbed a page from my sketchbook and used the peony as my inspiration.
STEP THREE – Add more layers and images
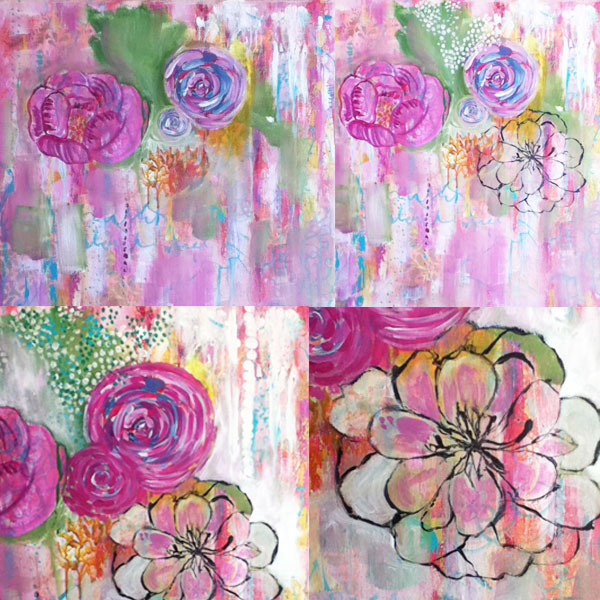
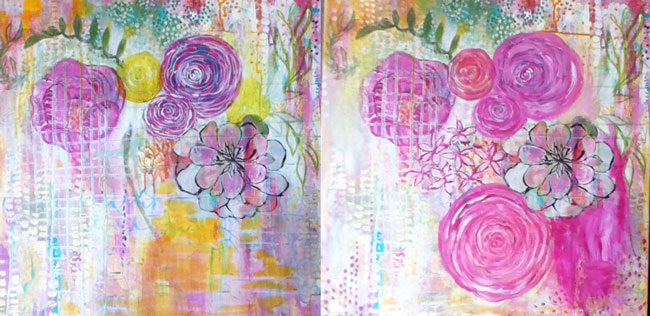
This is where i started to get stuck a little, I realized I was focusing too much on the outcome of the painting. I felt like I was going around in circles a little by adding paint, covering that up and generally got all icky at this point! Below are four stages of this section where I added more blooms, changed their colors, added in dots, more white in the background and then……stopped!
STEP FOUR – Keep going!
My painting sat in my studio looking like this for a few days. I really loved the top section where there is a dreamy white going on with the dots, so wanted to sit with that for a while. Then I decided to play again! It is easy sometimes to just give up when you get stuck, but going back will really stretch you, so this is what I pushed myself to do!
STEP FIVE – Add more color and mark making
In this part of the process, I decided it was time to let go of the attachment I had to this canvas (always limits you!) and just added color and more marks. (love the white and gold section on the bottom left) but of course, to stretch further, you have to do something BOLD!…. which is what I did next!
STEP SIX – Drip paint on it!
When in doubt, yes! Drip paint all down the painting. Haha. This seems to be my new favorite thing to do to my work when I feel a little stuck and need to push myself. I squeeze and drip white acrylic ink from the top of the canvas and let it run to the bottom (sometimes with the help of a spray bottle)
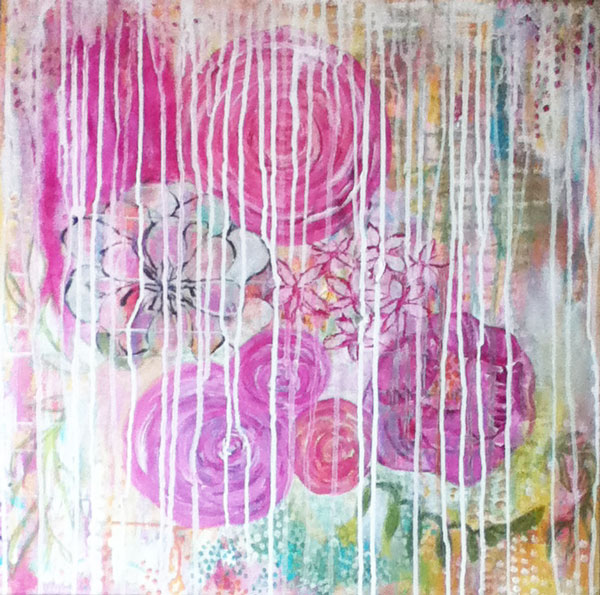
Click here for a little video on Instagram of be dripping the ink
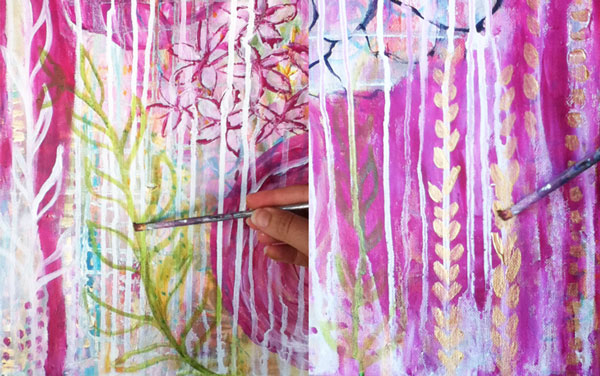
STEP SEVEN – Add more detail and start to bring it all together.
So wonderful to be at this stage. I could feel the painting is close to completion.I spent many hours in this ‘happy place’ adding details, more color to balance out the painting. Below are a couple of close ups adding a beautiful leaf motif and adding gold (oh how I love to use gold!).
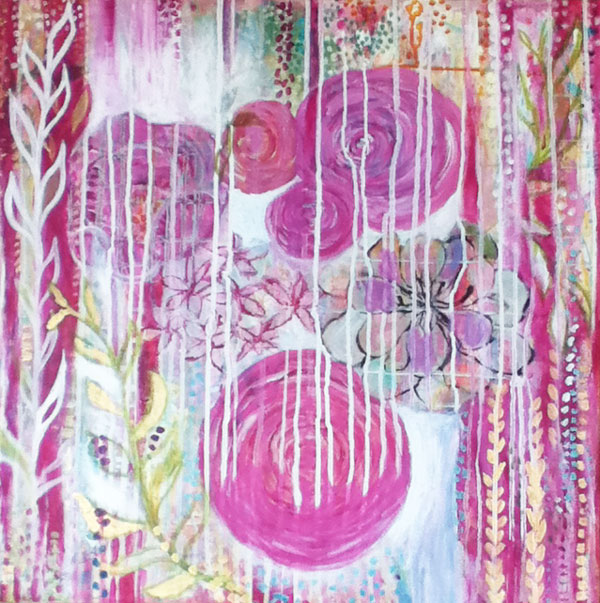
STEP EIGHT – Almost there!
I added a lot more pink to my painting, then traveled around the canvas, adding white back in to make some of the features pop a little.
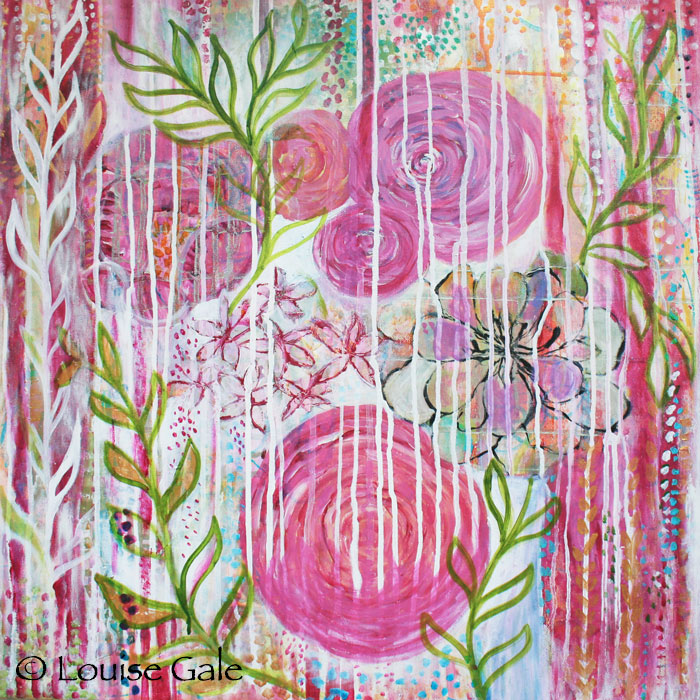
STEP NINE – The finished painting!
Then, after painting in some more leaf motifs and sharpening up the images, I decided it was finished and I was going to stop right here.
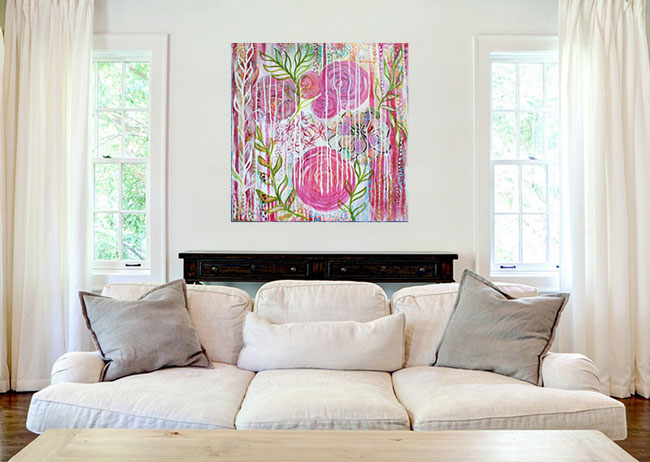
STEP TEN – Hang it in your home!
Below is a little ‘in situ’ I created to see how my painting would look in a lounge setting. The pinks bring compassion and warmth to a room. Perfect for a living room or guest bedroom.
I would love to hear what you think about this step by step process, were there any parts you resonate with if you too are a painter?
Which part of the process did you enjoy reading about the most?
Please do comment below and let me know.

 Hi, I'm Louise and thank you so much for visiting me here. I am a mixed media artist, who is passionate about combining the healing energy of nature and color with the meditative process of mandala making

These are absolutely lovely and delightful, full of fun and fab vibrant colours, I love them.